
This particular snowflake, I pulled off the internet (I couldn't figure out how to get a picture from Studio 5). So, let me take you through my step-by-step and then if you like, you can click on the link at the end and watch Studio 5's demo.
First off, you need scrapbook paper. I pulled out some Stampin Up paper I had gotten several years ago but just never used. I'm LOVING it!

Your paper can be any size. Trick is, you need 6 of whatever size you use and it needs to be square. SO, I cut my paper into 6x6 sizes.

Once you have 6 squares of whatever size you desire, you will fold each page from one corner to the other.

I'm hoping if my words aren't clear, my pictures will be.
Now fold the other corners together.

Not too bad, right? The next part is tricky to explain. While watching the tutorial, I ruined 2 sheets of paper trying to get it right and had to rewind and pause numorous times.
This was my first attempt. I knew I had it wrong the moment I unfolded it.

Seriously?!! I knew I was close, but something was off, so I rewinded the tutorial and watched again.
So, no worries if you mess it up. Just try again.
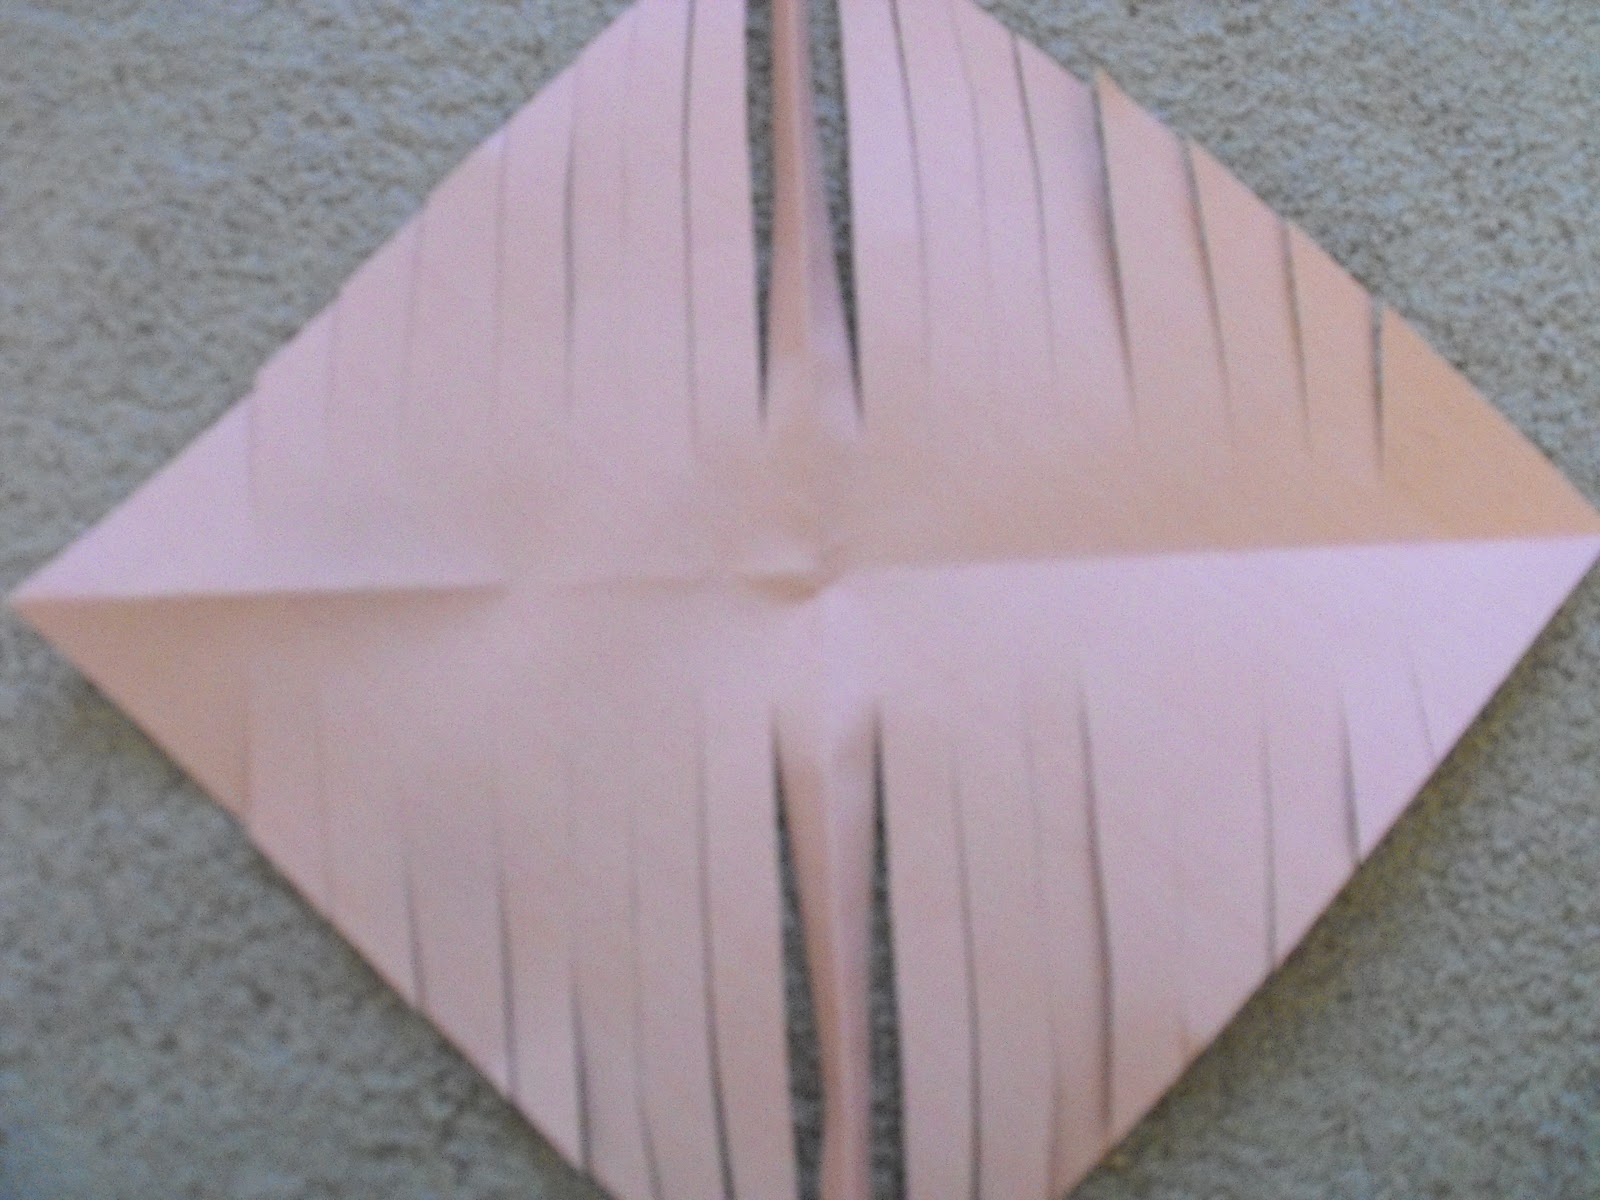
You've got your triangle and now it's time to make the cuts.
This is the side you will be making your cuts from.

Do NOT cut from this side. This is the solid side.

You can make as many cuts as you like. On my 6x6 sizes, I did 3 cuts. On my 12x12, I did 7. Whatever you want. I cut from the open side towards the folded side, leaving about one inch.

So the top that you see in this picture is the folded side; no openings. The right is the open side where you cut towards the folded side and the left is your raw edges of the paper

Now unfold your paper. I finally got it right. Very exciting!

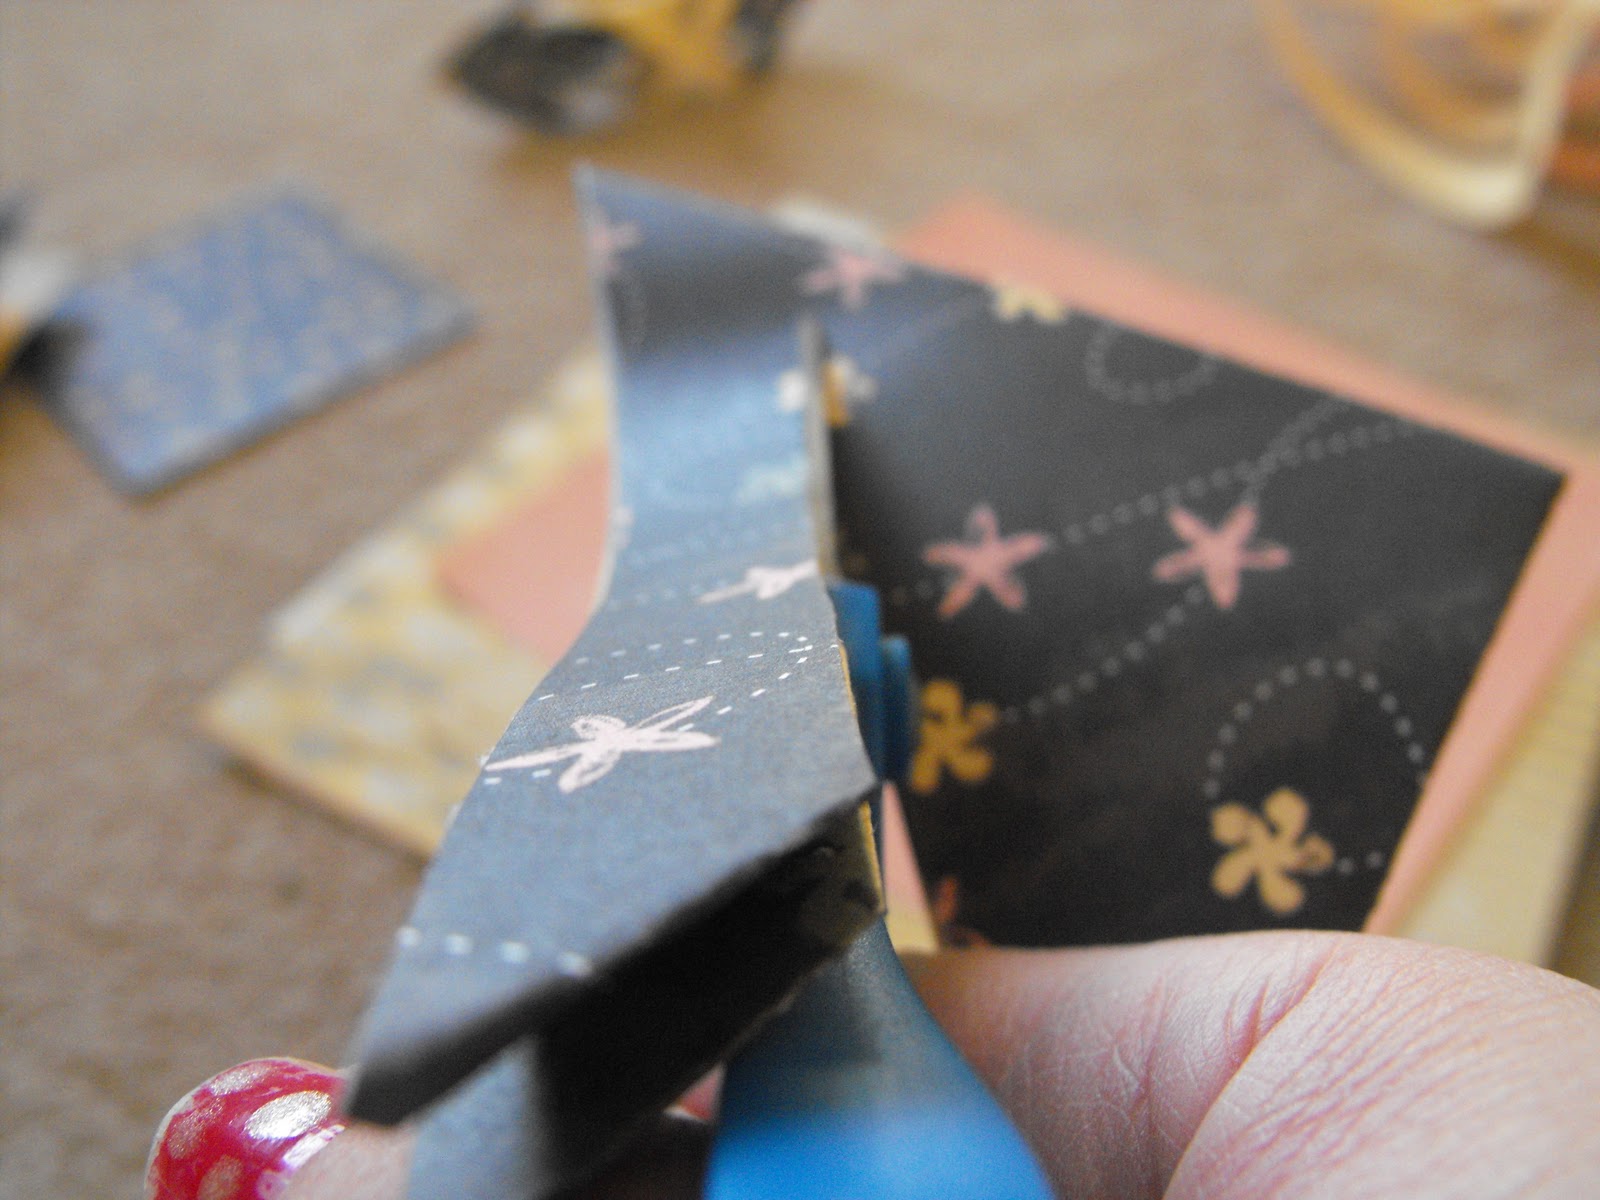
This next step is the funnest part. Fold in your center flaps towards the center and either tape or staple. My stapler was too large for this part, so I had to tape.


Now flip your paper over and staple/tape your next folds.
Hopefully, the pictures will clear this up.
I decided to do one side first, stapling together every other piece. So there's the most center fold, skip the next layer and then staple together the next layer (or you can flip your paper after each layer and put it together that way.


I've done the one side and now I've flipped it over.

I staple these layers together.


Oops! Forgot to rotate the picture. This is what is looks like when this step is done. You can hang it like this or keep going. On my 6x6 ones, I kept going. On my 12x12, I stopped.

Do this 5 more times until you have 6 total.
Once you've done that, grab 3 of your star parts. You will staple them together first in the bottom. Stapling works the best on this step.

Do the same with the other 3 pieces so that you have 2 sets of 3 pieces stapled together. When you have your two halves, you will want to staple them together in the middle.

Again, hard to explain in words, but I will do my best. To get the star to stay together, you will now staple each piece together at the top.

Seriously, the picture makes it tons clearer.
And here's my finished star or snowflake, or whatever you choose to call it.

Wanna see where I'm hanging them?
I have this very drab window.


Because we're renting this house, I haven't felt as motivated to put holes in the walls when I know I'm just going to have to fill them in. However, for Christmas, I had nailed in 4 small nails to I could hang some Christmas lights. I decided to just reuse those. Normally, I like to work in odd numbers, but I didn't want to make any new holes.
I punched a small hole in each star/snowflake and tied some ribbon through it with a pretty bow on top.


Stinking unflipped pictures.


I love these so much I might be willing to make some more nail holes in my wall. Yeah, I'm thinking it's gonna happen.
Now, if you'd like to watch the tutorial, click on the link below:
8 comments:
Hi Lyndee, Thanks for the follow, I'm one of your new followers. Thanks for the tutorial and for taking part in my celebration.
This is easy and how cute are these. Love it!!
OMGosh, how cute are those Ÿ I also ♥ how you displayed them. Thank you so much for the tutorial on how to make these.
these are so cute, thanks for sharing
These are fun, think I will teach my daughter and her friend how to make these after school today.
I love these! I might have to actually wait until next winter before I get around to making them...but thanks for the great tutorial!
Thnx for this great tutorial! Those came out so lovely! I'll have to add this to my list of things to do. :D
Hm....i wonder how easy it will be to make mini ones to hang on the Xmas tree?? Won't be able to staple though...maybe glue of some sort... I'll give it a try! :D
Post a Comment