I've seen other bloggers do it and it looked pretty simple. I was cleaning in the basement and came across some fabric scraps.

I knew I had a broken belt....
and I needed something to post about. SO, I did it. I attempted my first belt cuff.
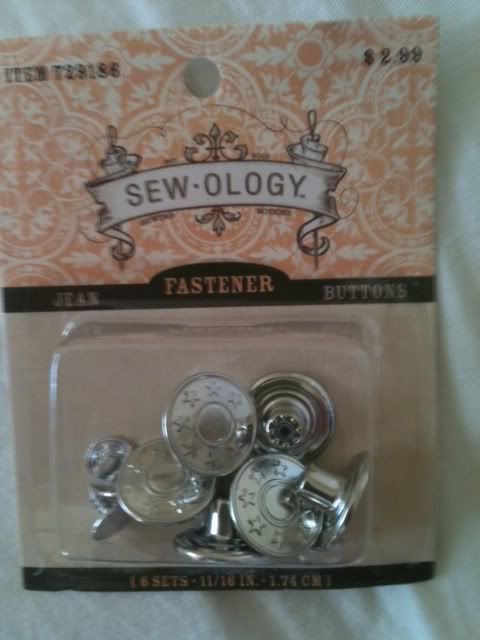
I only made one purchase for this project. Turns out it was the wrong item, but I improvised and used it anyway. I am looking forward to fixing a pair of pants I have whose button did fall off. See, it was totally worth the mistake.
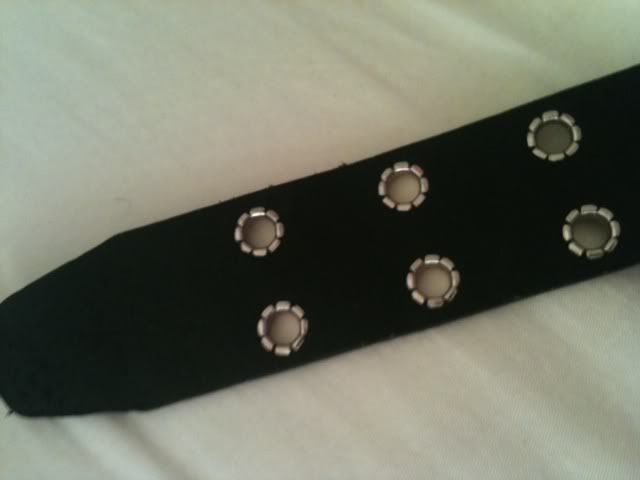
I used my crop-o-dile to punch a hole in the belt so I could insert my button.
I did this on both sides, making sure to measure around my wrist and then match the holes up to fit appropriately.

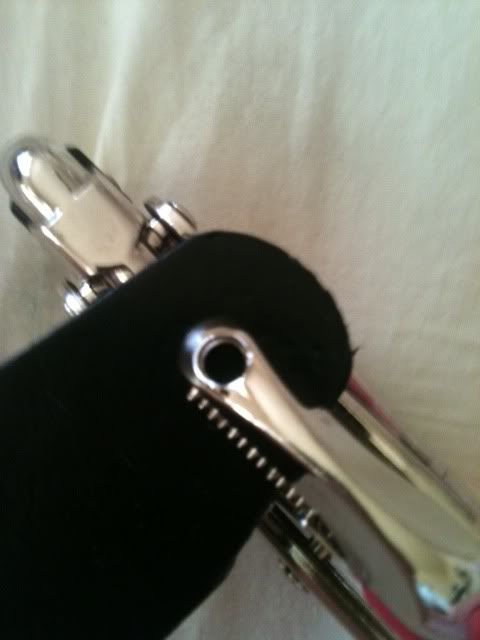
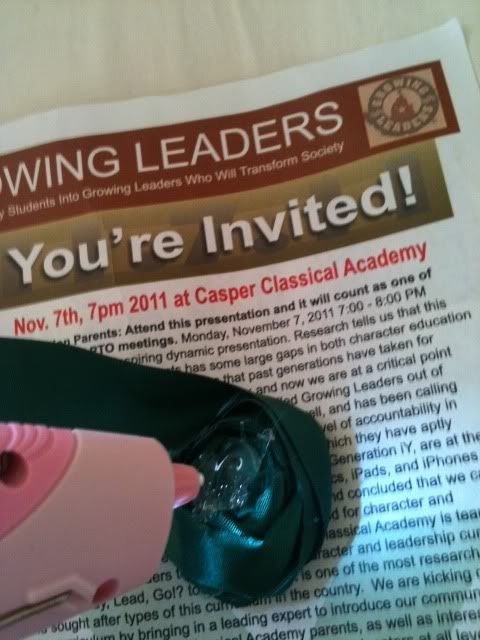
The button comes in two parts. One side looks like a screw.


I apologize for the pictures. I had to use my phone for this particular project. That blurry thing is the screw.
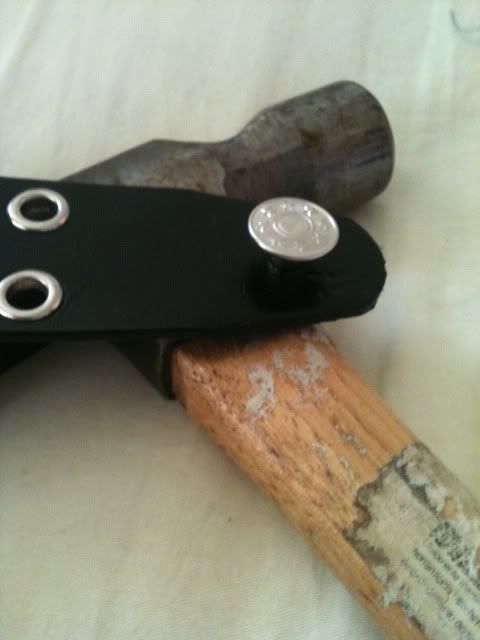
The next step is to put the button part on and hammer it down.
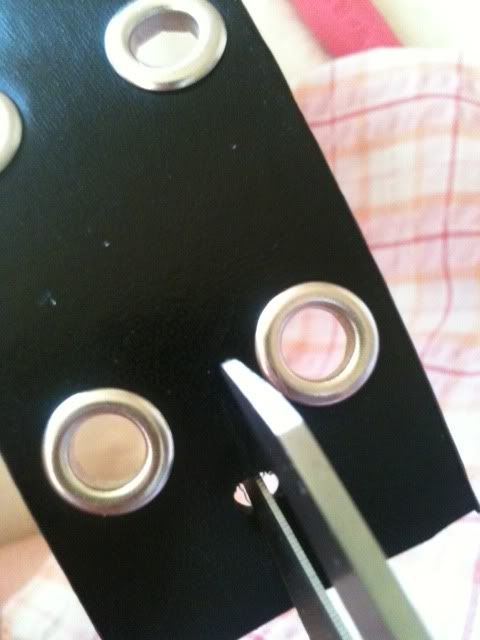
My next step was to make the whole on the other side of my belt/cuff big enough for my supper big button. I used my scissors and cut inward.
Once this was done, I put my cuff to the side and worked on my embellishments. Remember those fabric scraps? I decided to make some simple rosettes
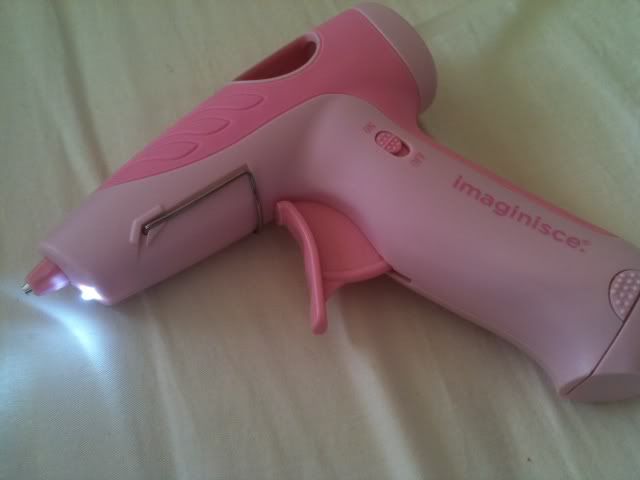
This is my newest craft toy. I was so excited to have a reason to use it.
Most of you probably already know how to make rosettes, but I'll take you through the steps anyway.
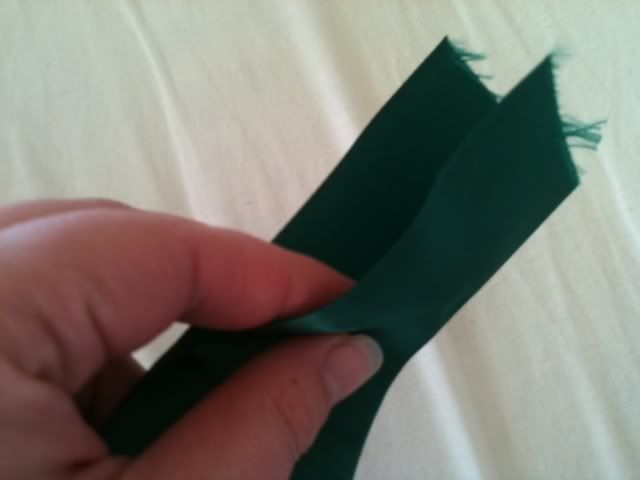
First, I take a strip a fabric. If you want to make a smaller rosette, a one inch-wide, 24 inch-long fabric strip would be plenty. For larger, you could try 2 inch-wide and longer than 24 inches. Play with it is my best advice. I folded my fabric in half.
Next I started rolling my fabric kind of tightly. This is the center of your rose.

After about an inch worth of rolling, I went ahead and glued my bud down. I twisted the fabric and continued rolling until I had the size I wanted.
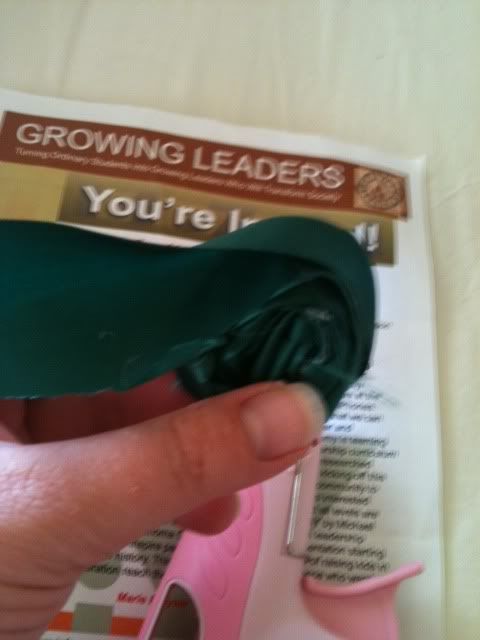
I saved an inch at the end and heavily glued it to the back of my rose.
I glued my rosette on to the cuff.
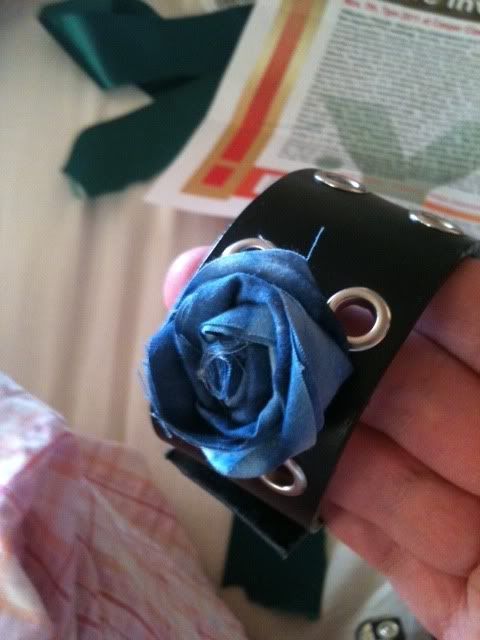
And like any true crafter, I didn't know when to stop.
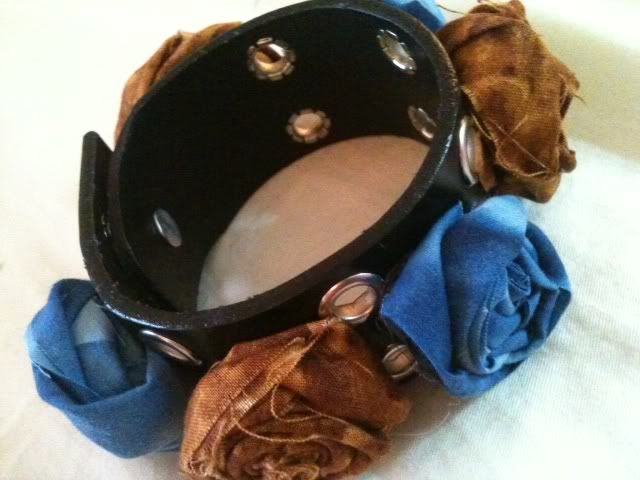
Luckily, it's hot glue and if I pull hard enough, the rosette will come off. My problem, I like odd numbers but I also like things to be even. I'd love your advise. Chances are, this cuff will be looking very different by next week. That's all part of the fun!

4 comments:
Great idea. Love the roses.
Ohh! I like it!
PS- some cute tulle fluffs might look kinda cool ;D
That turned out quite pretty!
I love cuffs! I made some over at my blog Candy's Clothes Closet. You gave me some fresh new ideas though:) thanks for sharing! Stay Fashionable! Love, Candy
Post a Comment