You know I've turned myself into a sewing maniac, right? Course, I've been working at mastering some of the more simple skills.
I saw a need....I filled that need....with a little fabric and a sewing machine.
I'll do my best to take you through my steps of making saddlebag remote holder.
Supplies:
- Fabric any size you'd like
(2 outside pieces, 2 liner pieces = all the same size-whatever size you want your holder to be)
- fusible webbing = same size as outside and liner fabric
- old belt (or ribbon)
- ribbon
- buttons
Step 1
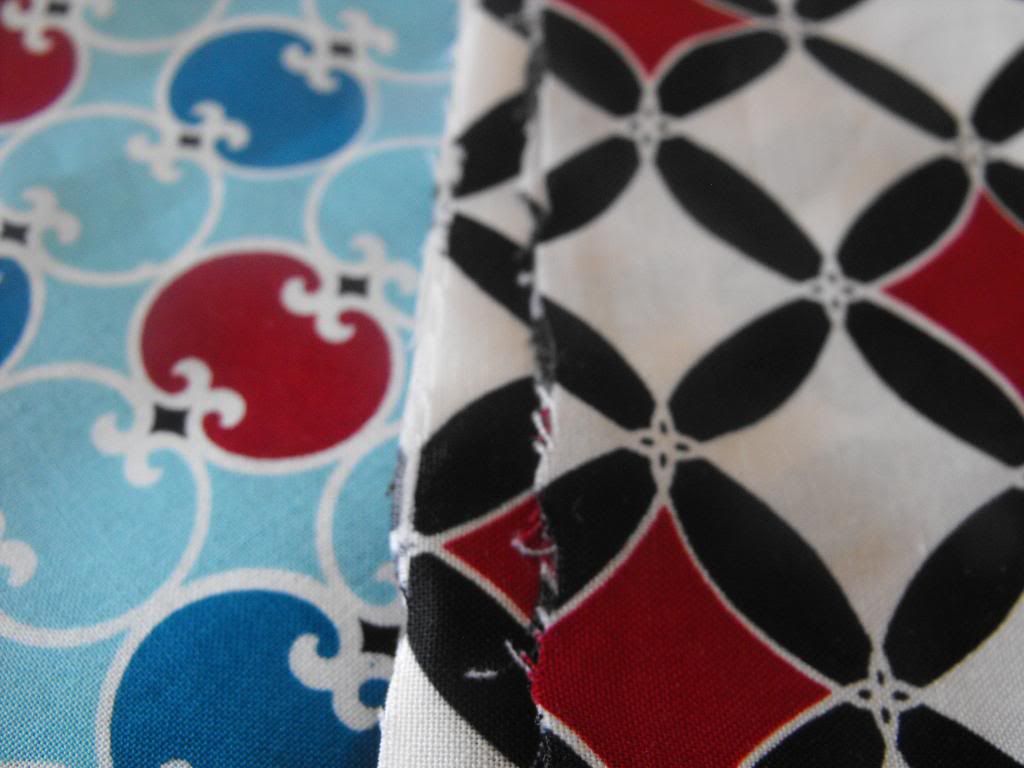
Grab your fabric. I grabbed the fabric I had. I don't have tons, so it seems everything I make is made from the same patterns which is okay cause I love it.
Step 2
Cut your fabric. I have no idea what size I cut mine. I did two different sizes. The important thing is to make sure your liner and fusible webbing is the same size as the outside piece.
Step 3
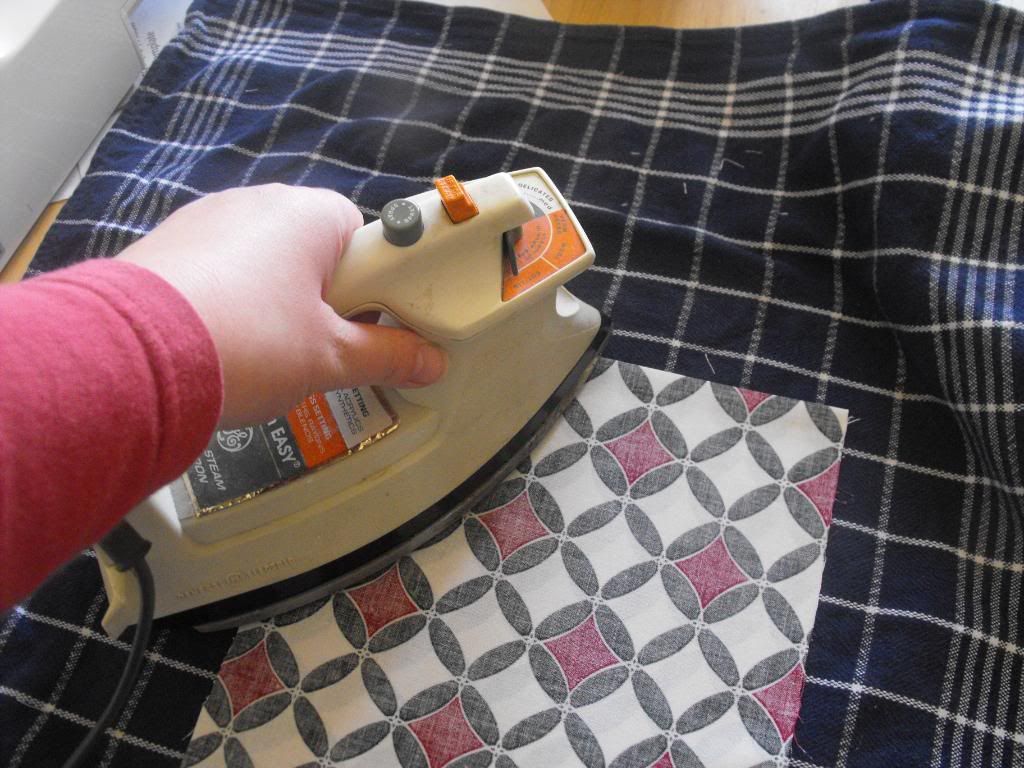
Iron on your fusible webbing according to the manufacturers instructions to the outside fabric (or liner, I'm not picky). You will do this twice.
(like my vintage iron--oh, yeah!)
Step 4
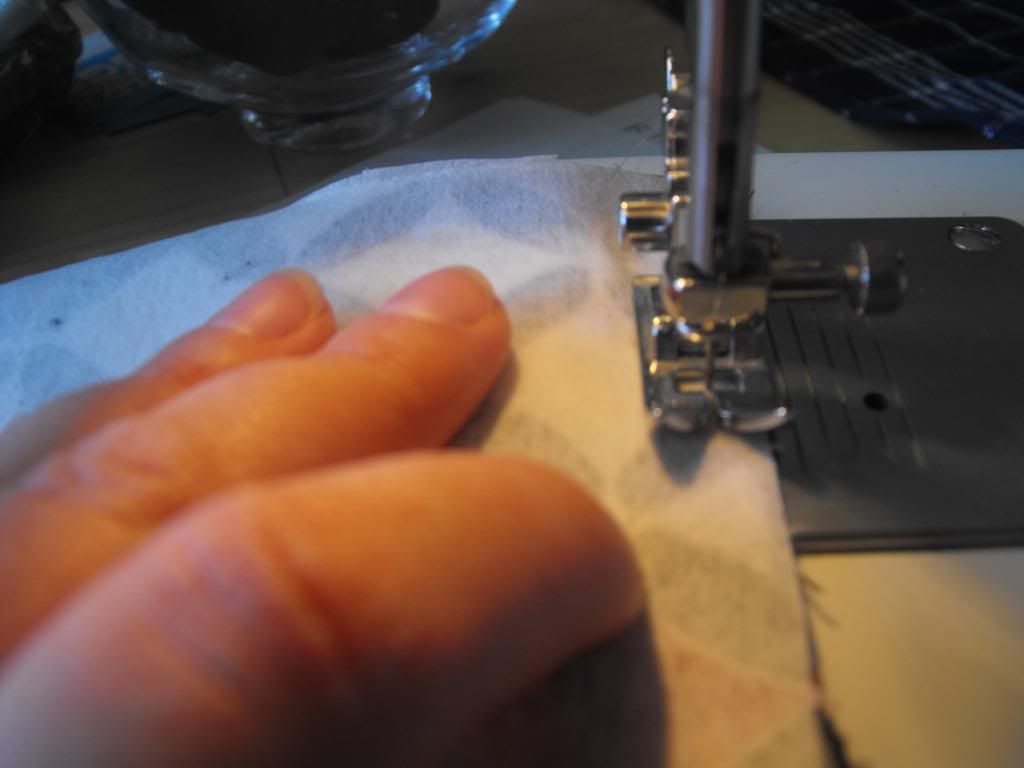
Place your liner and outside piece together, right sides together and sew around. You will do this twice. Be sure to leave about 1/2 inch on the top of both sides so you can fold down the seam.
Step 5
I had to experiment a bit on this step but will tell you what I found to be the simplest. Fold down that half inch that you left unsewn. This is so you don't have any raw edges showing when you turn it right-side out. You will do this with both pieces (front and back of bag).
Step 6
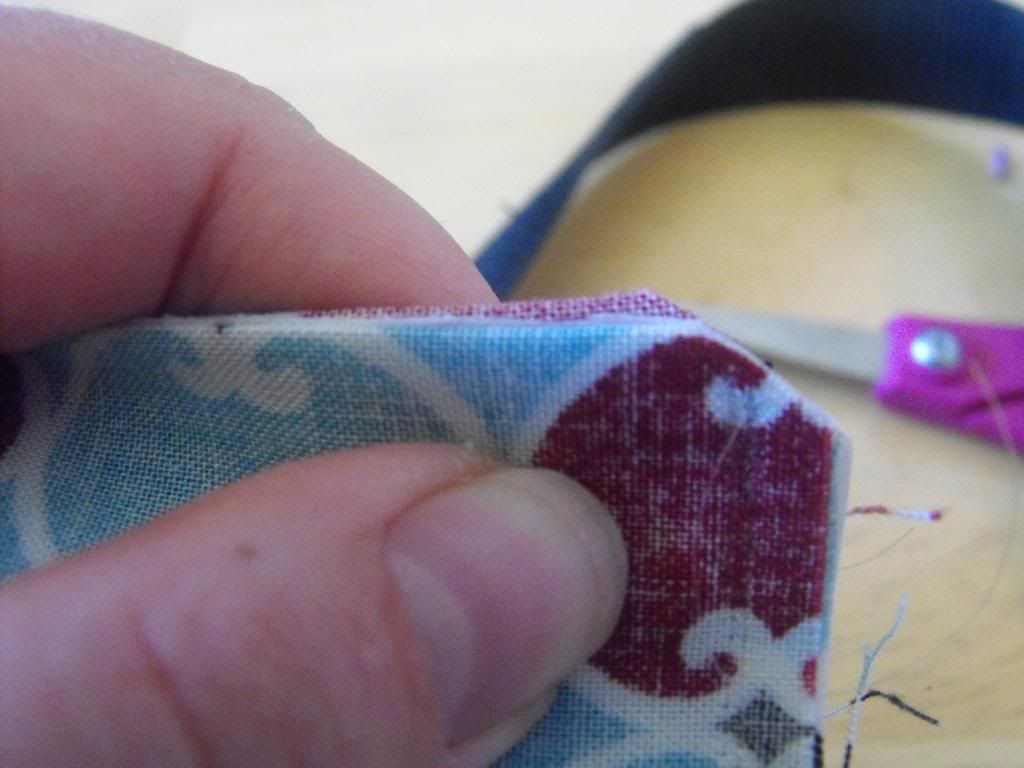
Now you'll clip your corners.
Step 7
Turn your bag right-side out now. This is the fun part.
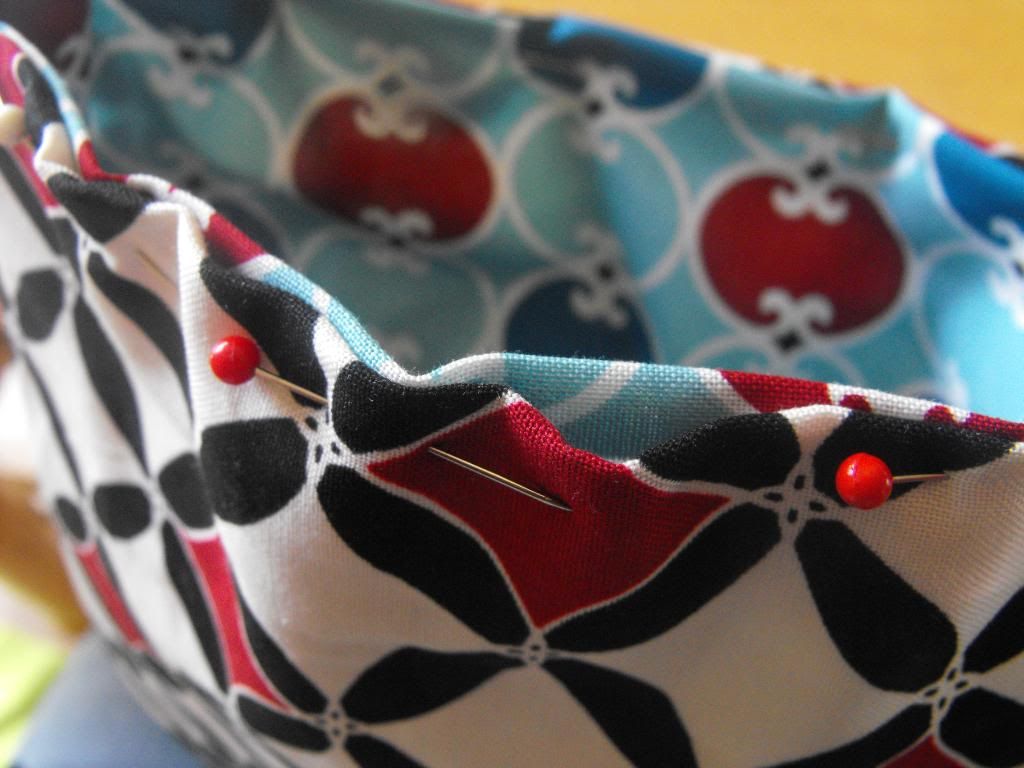
With my 1st bag, I didn't finish my raw edge and attempted to do it the hard way by folding down and pinning and then sewing.
Step 8
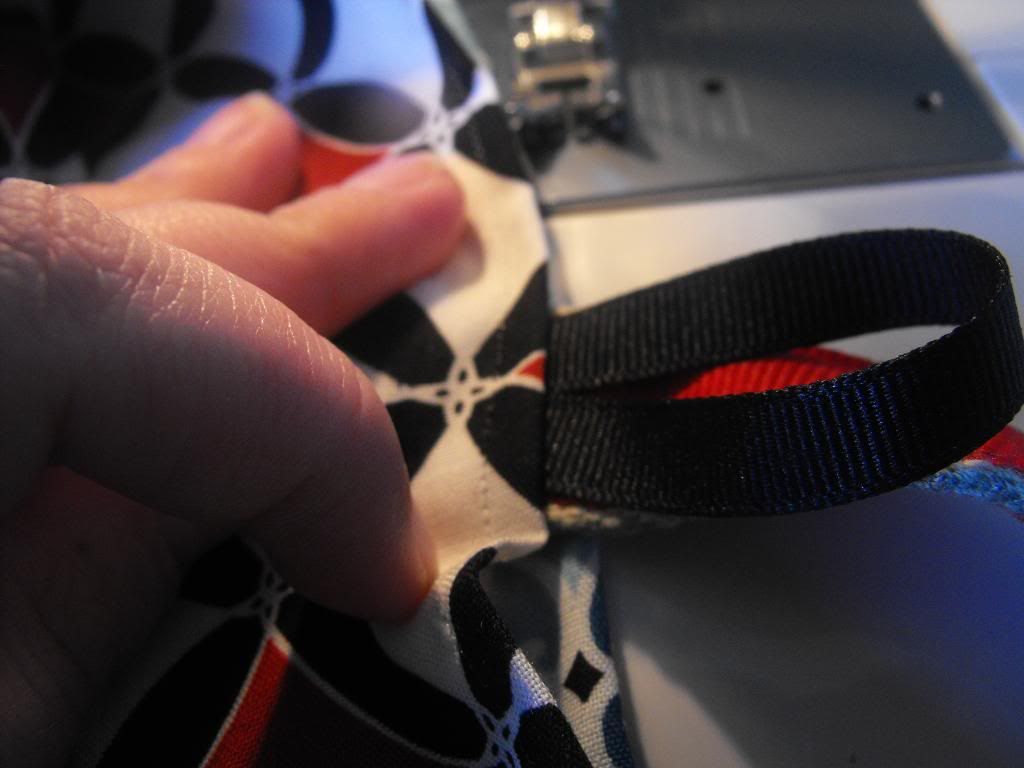
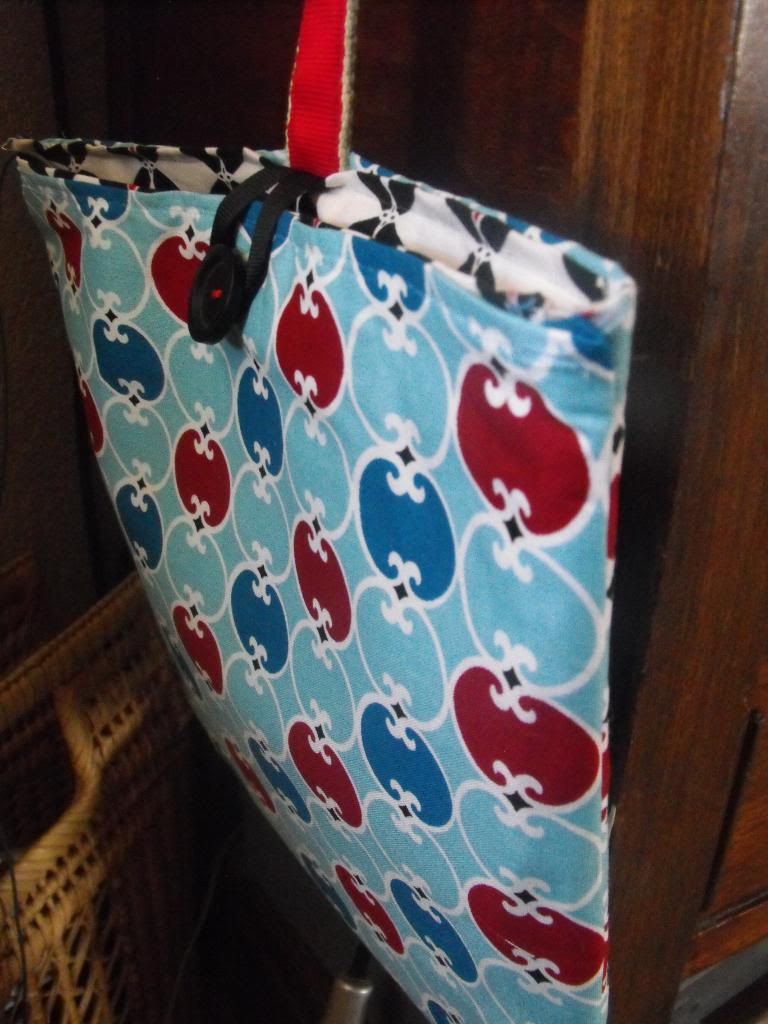
Pick the spot you want to insert your belt. My end product was saddlebag style so the belt would be used as the piece that held the two bags together so I could drape it over my tv stand. In the same place I inserted the belt, I put in a looped ribbon so I had the option of closing my bag.
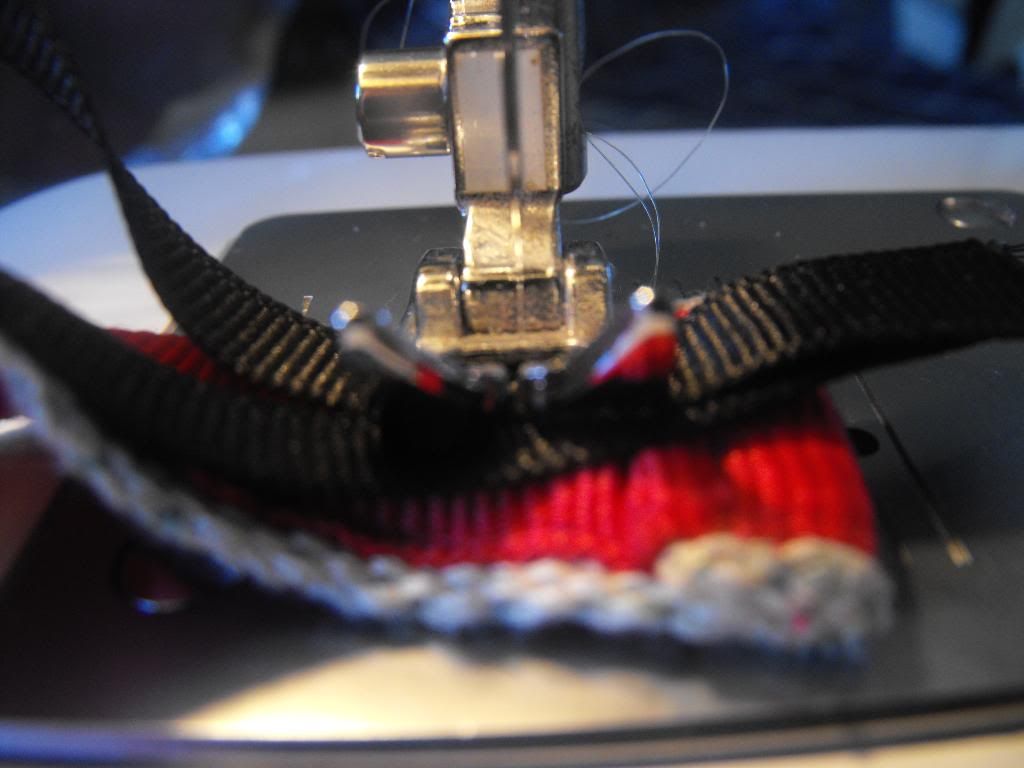
I sewed my ribbon onto my belt and went back and forth on it several times for added strength.
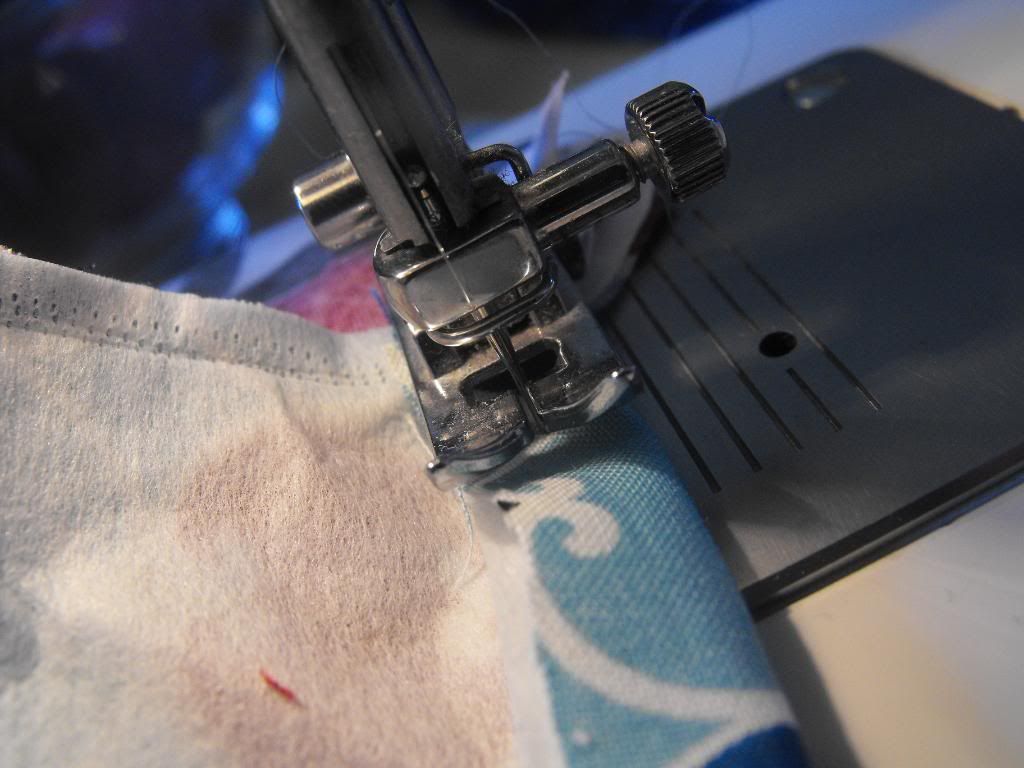
I put the ribbon and belt in-between the liner and outside of my fabric. I went back and forth over this several times as well for added strength.
Step 9
I top stitched the top of the bag all around. I did the exact same with my second bag and I was set to go. Don't forget to add your buttons.
So far our system seems to be working and I'm thrilled with how it looks.



7 comments:
That is awesome!! Love the fabric too.
what a great tutorial- and I think the fabric totally does it for me!
PS- I Do love your iron ;)
Love it - new follower!
my friend just made something like this for her kids' beds to hold books/etc. http://thelougheedfamily.blogspot.com/2011/04/bed-caddys.html
Great bag and a lovely tutorial! Good work!
Jill @ Creating my way to Success
http://www.jembellish.blogspot.com/
Very cute. I love how you added the little button closure. Nice tutorial work. :)
Thanks for joining my Weekend Bloggy Reading party. Hope you'll visit me at Serenity Now again soon. :)
I am always looking for them why not make this, right? Oh wait a minute I would probably not put them in there just like I NEVER hang my keys on the key hook. Always looking for those too. But it is worth the try- I am adding it to my ta-do list! Thanking for linking to Workshop Wednesday @ goobyecityhellosuburbs
Post a Comment